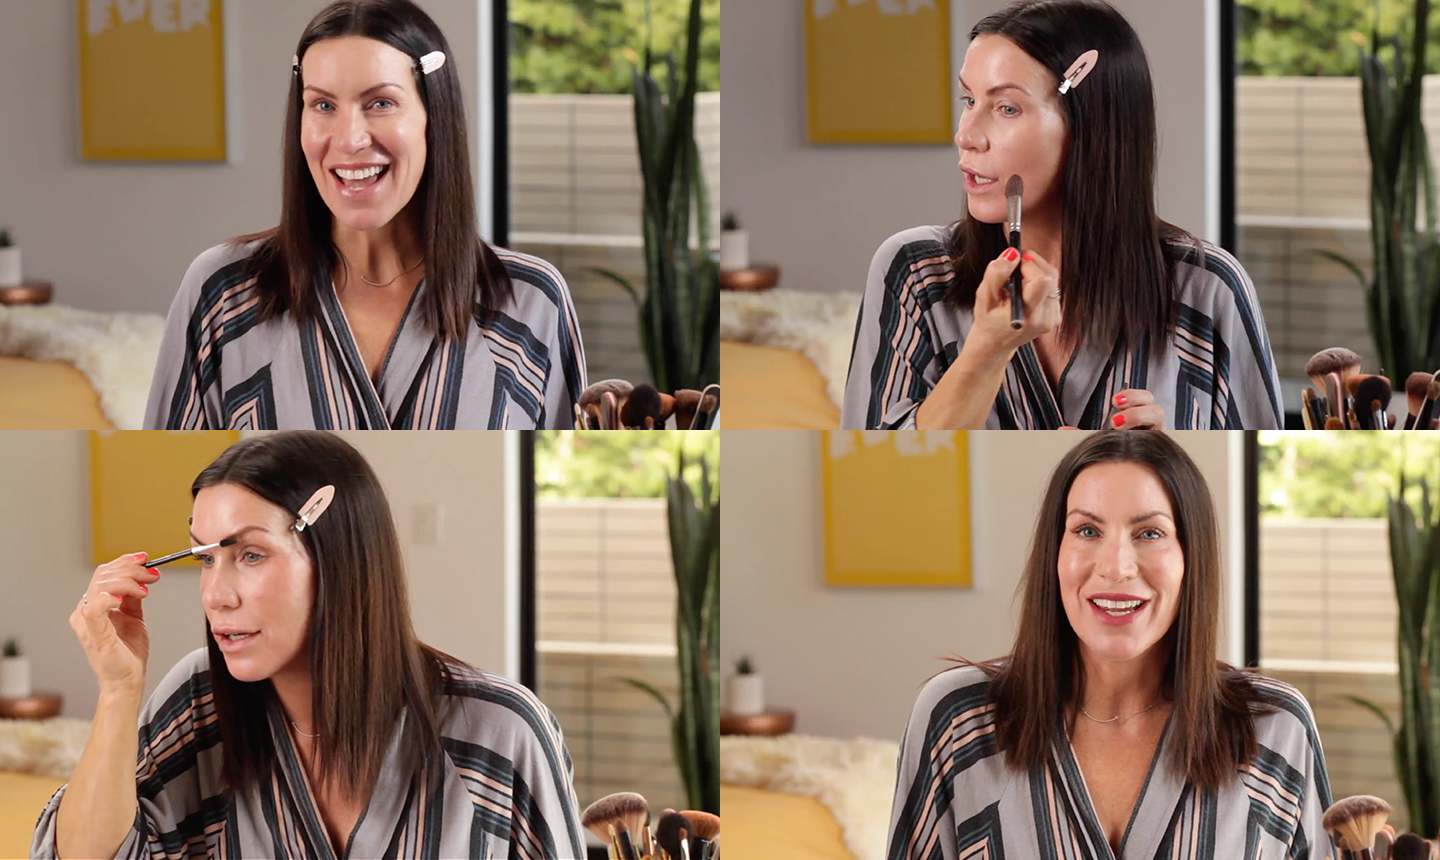
Cat eye or smoky eye? Glossy lip or matte lip? There are just so many choices when it comes to doing your makeup, but that’s what makes it so much fun. We have Kat Woodside, our Chief Design Officer, here with us to share her go-to makeup tutorial. She’ll walk us through all the steps she takes at the start of her day for a natural, effortless look. It’s as easy as 1, 2, 3…okay, maybe there’s a few more steps than that, but it’ll take you under 10 minutes (that we can assure you!). Watch the video to learn about the products Kat’s obsessed with and her special tips and tricks for this routine!
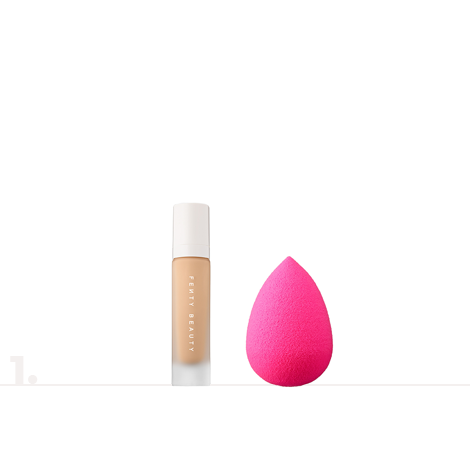
1. Always start with a primer! This step is crucial because it acts as a barrier so the other layers don’t seep into your skin. It’s also good for mattifying and making sure your foundation sets properly instead of caking in your lines (which we definitely don’t have!).
Featured Products: Fenty Beauty Pro Filt’r Soft Matte, Beauty Blender The Original
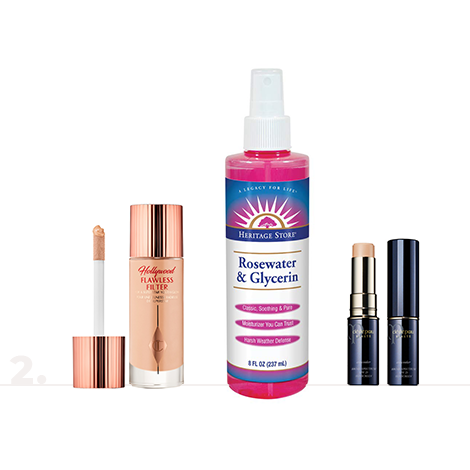
2. Layer on your foundation with your fingers, then even it out using a beauty blender. Add concealer to any problem areas like dark circles or spots.
Featured Products: Charlotte Tilbury Hollywood Flawless Filter, Heritage Store Rosewater & Glycerin, Clé de Pau Concealer
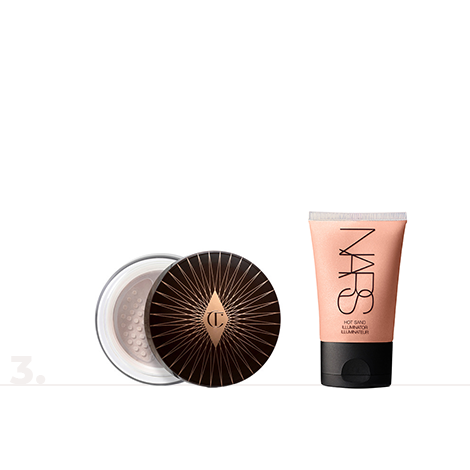
3. Add loose powder to mattify and set your foundation. A good trick is to pour some powder into the lid and then dip your beauty blender into that to make sure you don’t overdo it. Then, and some highlighter for an extra glow. Highlighters come in all forms—liquid, powder, or stick…take your pick! Try lining the bridge of your nose and your cheekbones for ideal illumination.
Featured Products: Charlotte Tilbury Genius Magic Powder, Nars Illuminator
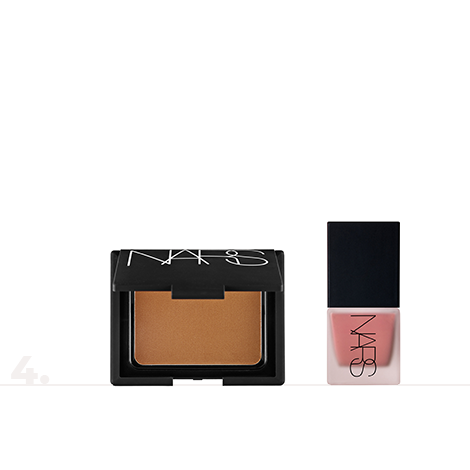
4. Try a little contouring to bring out your features. Unlike blush, your contour shade should go underneath your cheekbones in the hollow of your cheeks. Add a few strokes under your chin on both sides and just above your eyebrows. You can also add a touch of blush for a rosy finish.
Featured Products: Nars Bronze Powder, Nars Liquid Blush
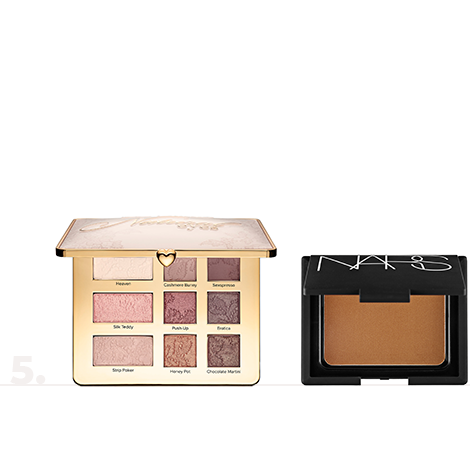
5. Now, for the eyes. Kat goes for a lighter eye for her everyday look. She starts with a light layer of color using a fluffy brush. On a night out, this’ll serve as your base for additional colors. Then, give a gentle swoop of the brush at the crease of your lid with some bronzer for a little extra definition.
Featured Products: Too Faced Boudoir Eyes, Nars Bronze Powder
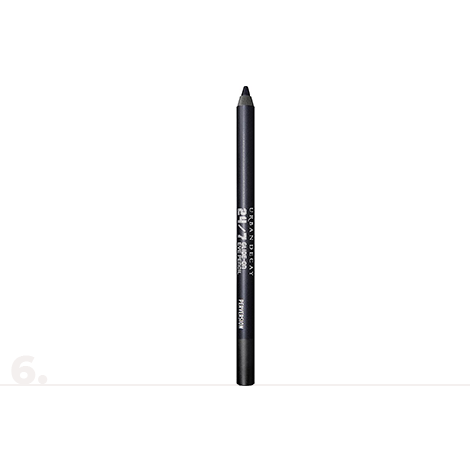
6. Tightline your upper lash line with an eyeliner or brush. The easiest way to do this is to look down or even shut your eye on the tip of the pencil or brush and go back and forth on the inner lash line. (If you tend to get teary, use a waterproof liner.) This gives a nice, natural-looking depth to your eyes.
Featured Products: Urban Decay 24/7 Waterline
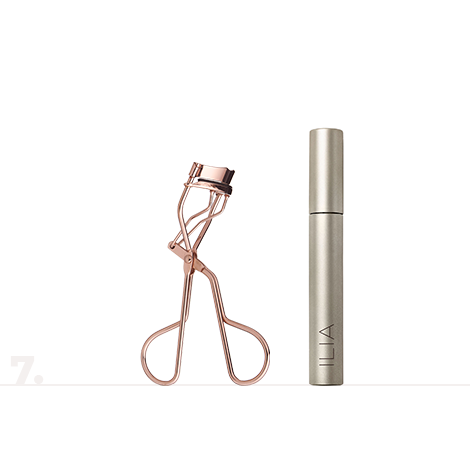
7. Then, curl your lashes and brush on some mascara. Never curl after applying mascara because this could damage your lashes! For a super subtle finish, Kat uses an eyelash brush to get off any excess, then applies the leftover to her bottom lashes for an ultra-thin layer.
Featured Products: Charlotte Tilbury Life Changing Lashes, Ilia Limitless Lash Mascara
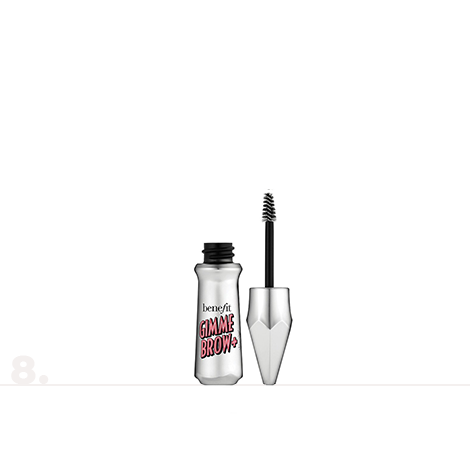
8. Brows are all the rage these days. Add definition to your eyebrows by using a pencil or shade them in using a brush. Try combing them up for a fluffier effect.
Featured Product: Benefit Gimme Brow+
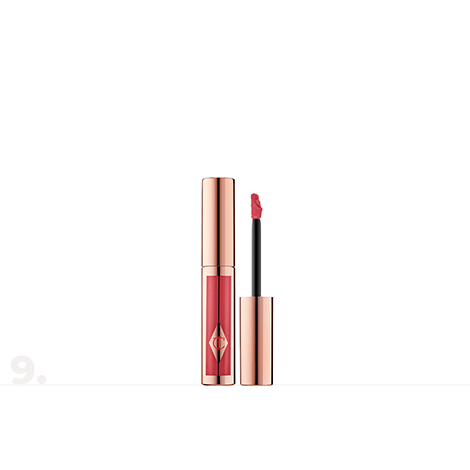
9. Finish off your look with a bold lip. Today, Kat is using a liquid matte lipstick. To apply, add a touch to the center of your lips, smack it around, and finish by blending with your finger.
Featured Product: Charlotte Tilbury Hollywood Lips

10. Voilà! You’re ready for your day. And one last thing…no look is complete without a smile!
Our last few bits of advice: before you do any of this, make sure you’re applying SPF, and always wash your hands before applying products with your fingers. Now, we want to hear your makeup tricks. What does your morning routine look like? Maybe all you do is a touch of lip balm, or maybe you give a full face. Tell us all about it in the comments below!
